How To: Install Windows 7 on VirtualBox 2.1 – Fix Sound, Video and Network adapter
On my previous blog posts, I covered the installation of VirtualBox 2.1 and I went over the step-by-steps to create a virtual machine to host Windows 7.
- How to: VirtualBox 2.1 Installation Guide
- How To: Install Windows 7 on VirtualBox 2.1 - Create a virtual machine
- How To: Install Windows 7 on VirtualBox 2.1 – Installation details
I will now go over the details of fixing the sound, video and network adapter.
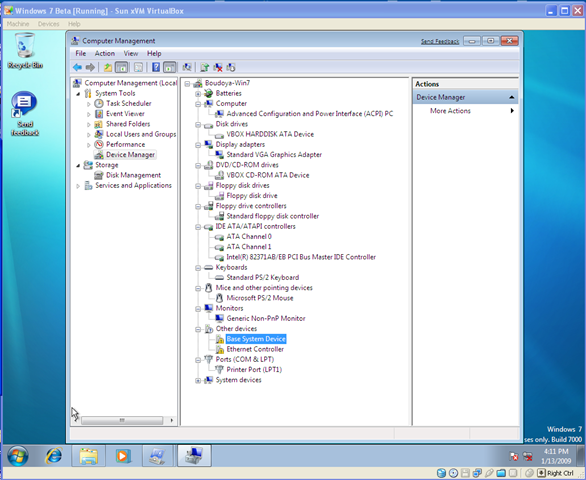
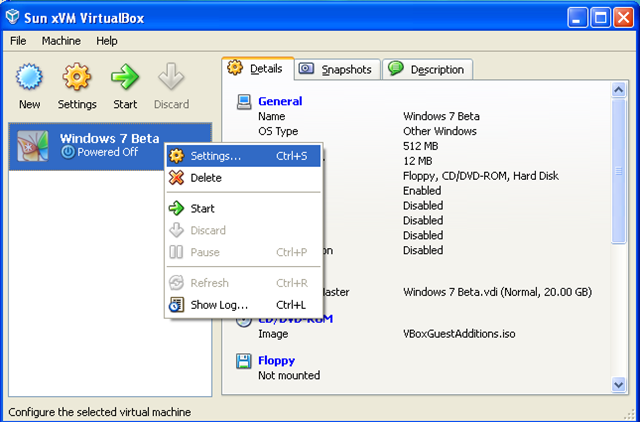
If you go to Start > Right-click on My Computer > Manage (or run mmc), then you will get the content management window. You should notice that two devices are not properly installed (Base System Device, Ethernet Controller).
Mount Guest Additions
-
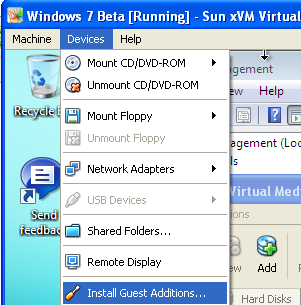
On the VirtualBox machine window, in the menu bar: Click Devices > Install Guest Additions…
-
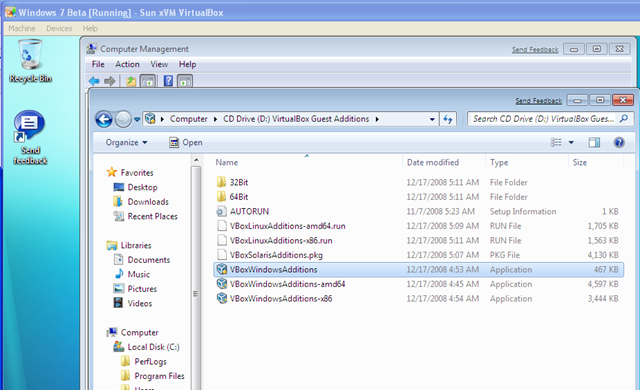
The AutoPlay window should open to prompt you to run or open. Click on Open/View files to specify yourself what to run. You can access using windows explorer the D drive.
-
Right-click the VBoxWindowsAdditions file and choose properties.
-
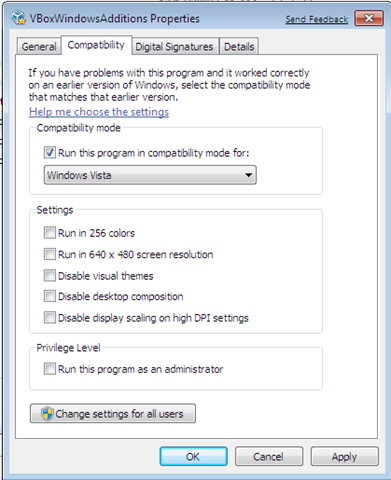
In the Properties window, go to the Compatibility tab. Check the Run this program in compatibility mode for box, and choose Windows Vista in the box below it. You can check if you want “Run the program as an administrator”. Click OK.
-
Double-click the VBoxWindowsAdditions file to run it as an administrator.
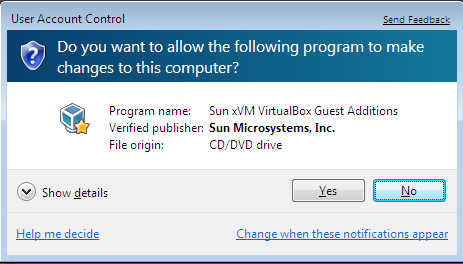
Click Yes.
-
If you have nothing happening, make sure to maximize the VirtualBox Guest Additions 2.1.0 Setup window.

Guest Additions Installation Wizard
-
Start the set up.
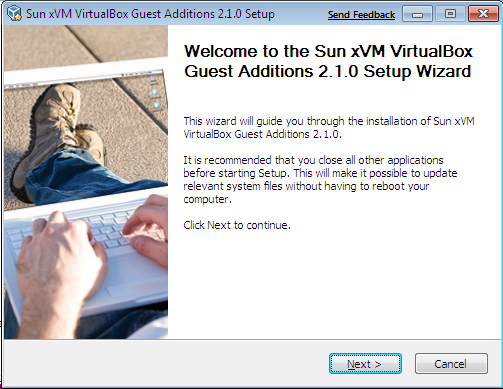
Click Next.
-
License Agreement.
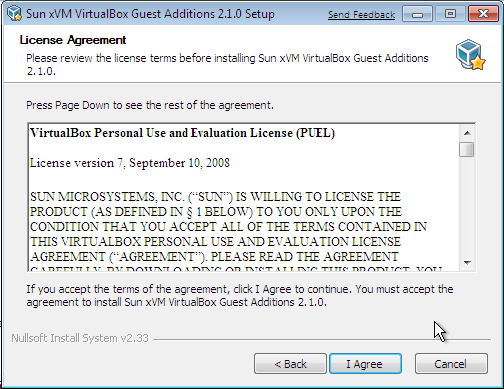
Click I Agree.
-
Install Location.
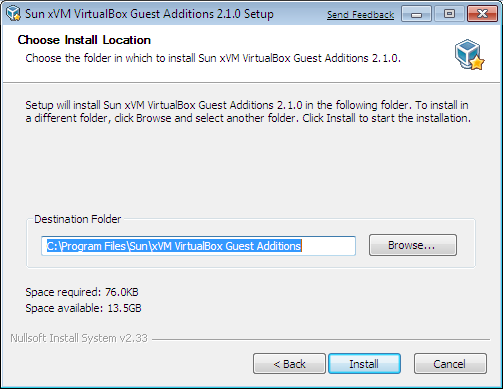
Click Install.
-
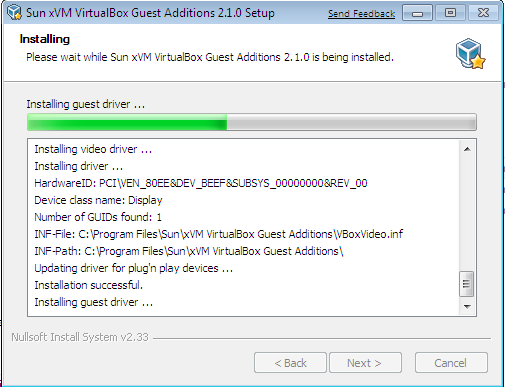
Installation starts.
-
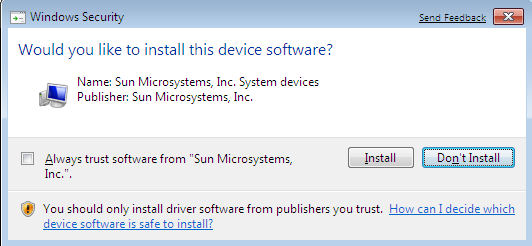
After a few seconds, you’ll be asked if you want to install the Sun display drivers. Select the check box to trust software from “Sun Microsystems, Inc.”.
Click Install.
-
Once the installation is finished, your computer must be restarted in order to complete the installation.
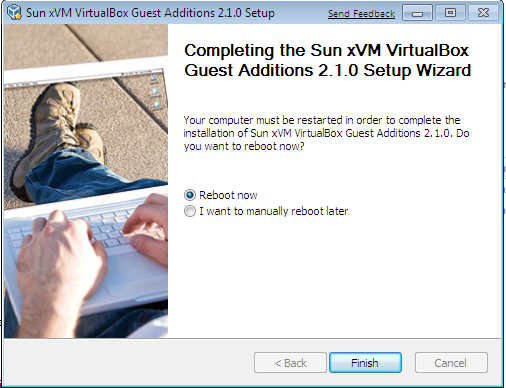
Click on Reboot now and Finish.
-
You should now be able to use your Virtual Machine in Full Screen mode (Right Ctrl + F).
Install Network and Sound devices
-
Click on Start > Shutdown
-
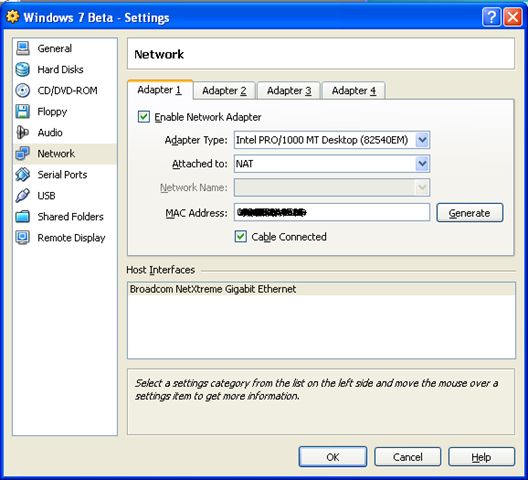
On the VirtualBox Manager window, right-click on the virtual machine > Settings.
-
On the Settings window, click on Network. Change the Adapter Type from PCnet-FAST III to Intel PRO/1000 MT Desktop (82540EM)
-
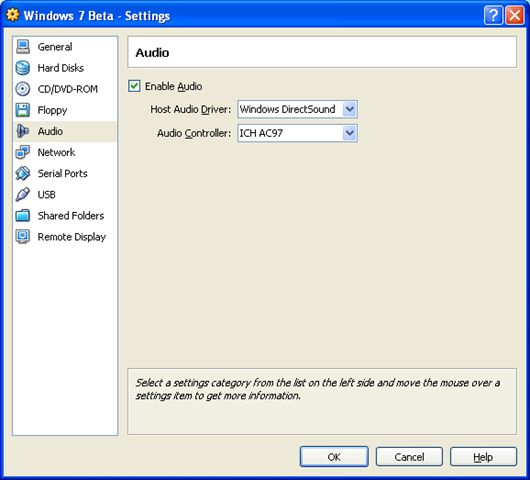
On the Settings window, click on Audio. Check Enable Audio.
In Host Audio Driver, change from “Null Audio Driver” to “Windows DirectSound” (you may have something else there)
In Audio Controller, select ICH AC97 or any other controller available.
Click OK.
-
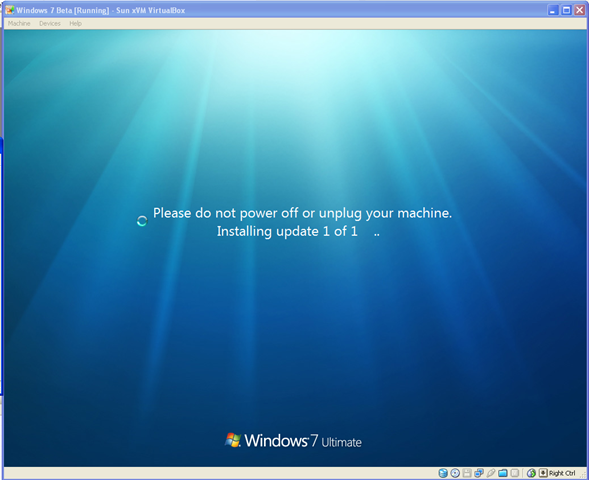
Start your virtual machine with Window 7.
-
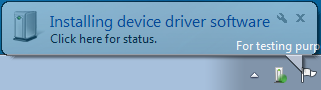
You should see a pop-up showing that Windows 7 has found some hardware and has installed the drivers.
Make sure to install the audio drivers
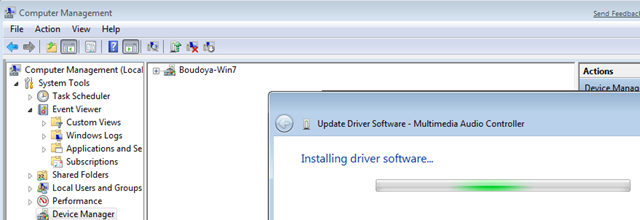
Make sure to go to My Computer > Right-click on Manage > Systems Tools > Device Manager. Under Sound, video and graphic, right-click on the Multimedia Audio Controller > Properties. Go on the Driver tab and
Click Update Driver…
Select Search automatically for updated driver software
The system should start installing driver software…
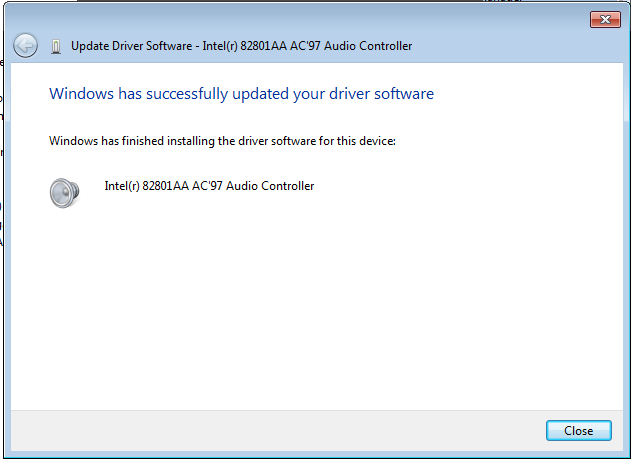
You should now have your sound installed.
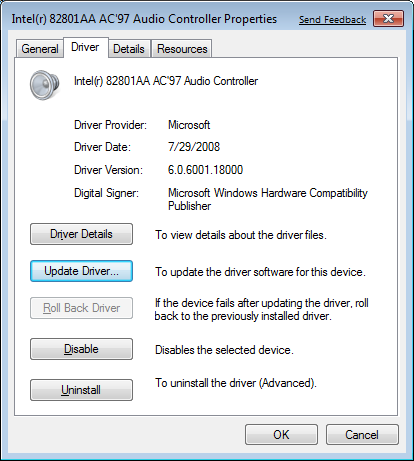
Click Close.
In your device manager window, you should see listed your audio controller.

Reboot your virtual machine to complete installation.
- You are now done installing Windows 7. 7 for 7.
-
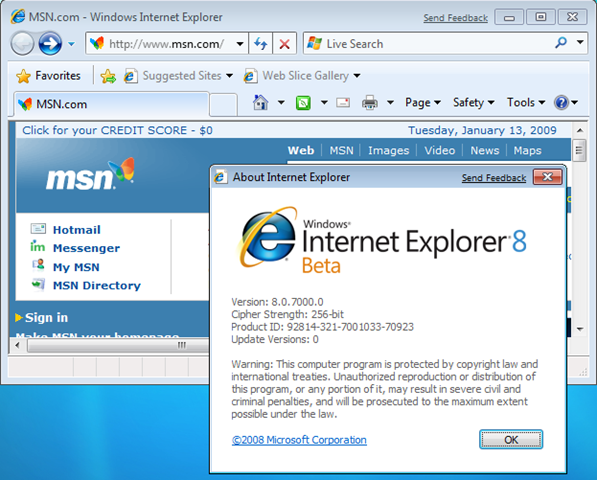
You can open your internet explorer 8 Beta and have fun with it. 8 for 8.
Note
- Windows 7 Beta expires August 2009.
- Activate Windows if you want to use it more than 30 days. You can run the activation process by searching for ‘Activate Windows’ on the Start Menu.
See Also

Cedric Boudoya
I am a Software Engineer with over 9 years of experience in Web and Client Server Solutions specializing in .NET solutions using C#, VB.Net and ASP.net. I am a Microsoft Certified Professional bilingual English and French who is energetic, a hard worker and a fast learner. As team player or on my own, I can work without supervision to develop quality software and focus and prioritize my ideas effectively. I continually strive to become a true expert in the fast moving software development industry.