How To: Install Windows 7 on VirtualBox 2.1 - Create a virtual machine
Today, I will go through the step by step instructions to setup VirtualBox for Windows 7. First of all, You will need to install VirtualBox. Follow my VirtualBox installation guide from a previous blog post if you need the step-by-steps.

-
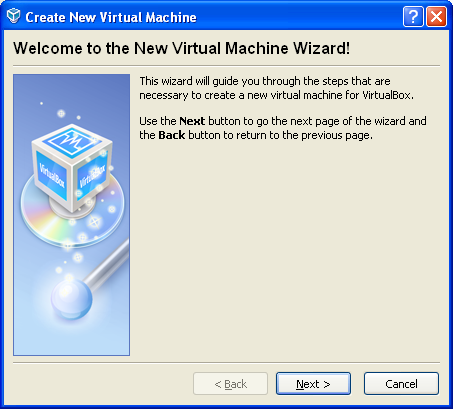
Clicking on the “New” button in the user interface will guide you through setting up a new virtual machine (VM). Click Next.
-
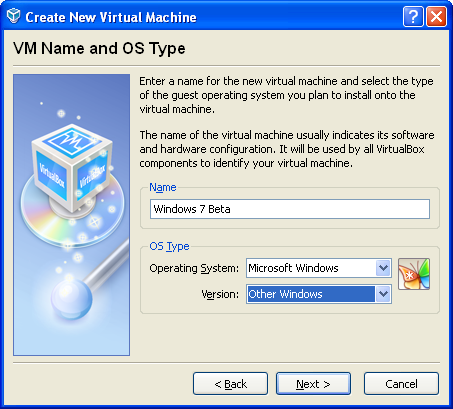
You must provide a name for your VM, and the type of operating system (OS). Click Next.
-
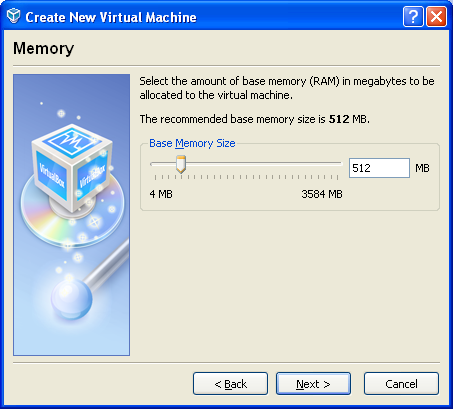
You must give the amount of memory (RAM) for Guest OS. **If your host machine has 1 GB of RAM and you enter 512 MB as the amount of RAM. Click Next.
-
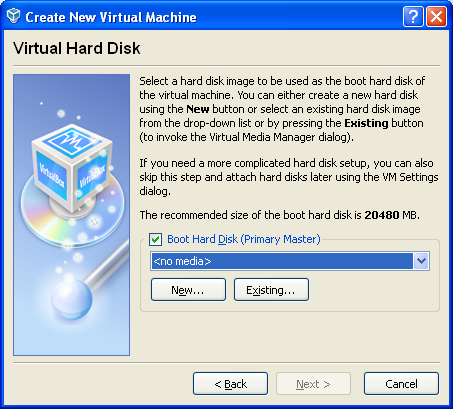
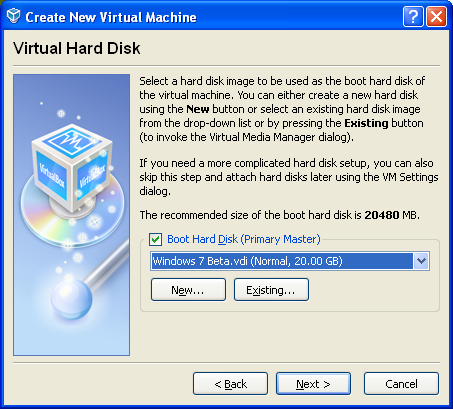
You must specify a virtual hard disk for your VM. Click New.
-
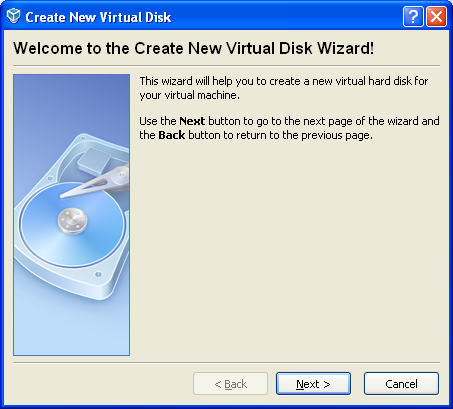
Click Next.
-
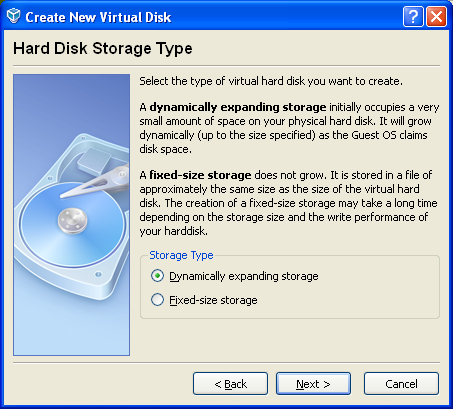
Select storage type “dynamically expanding storage”.
-
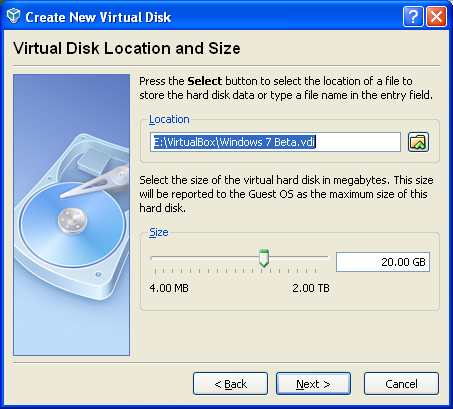
Specify space with 20 GB. Click Next.

-
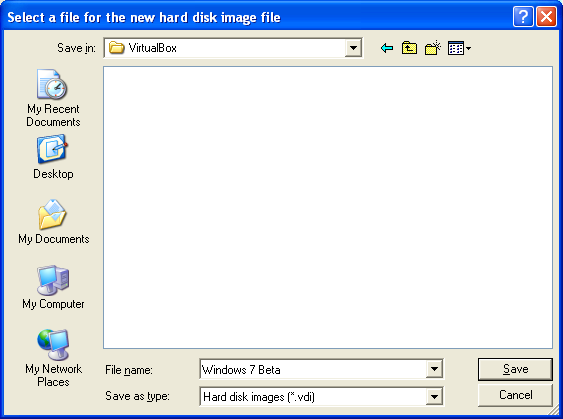
Pick a location on your drive to store the virtual hard drive (.vdi). Click Save
-
Click Next.
-
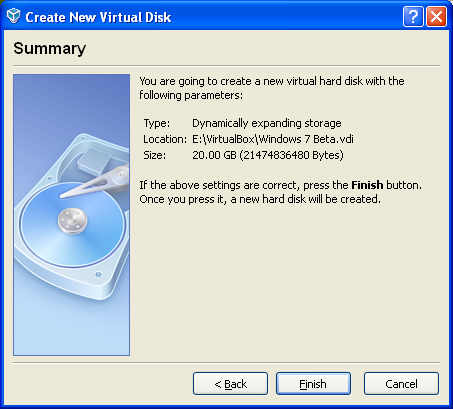
Click Finish.
-
-
Now you get to review the virtual hard disk details.
-
Finally, review the virtual machine details.

-
You are done with the virtual machine set up. You should see the main screen of VirtualBox.
-
Click the Start button to start the virtual machine.

My next blog post will go over the installation process of Windows 7 on VirtualBox.

Cedric Boudoya
I am a Software Engineer with over 9 years of experience in Web and Client Server Solutions specializing in .NET solutions using C#, VB.Net and ASP.net. I am a Microsoft Certified Professional bilingual English and French who is energetic, a hard worker and a fast learner. As team player or on my own, I can work without supervision to develop quality software and focus and prioritize my ideas effectively. I continually strive to become a true expert in the fast moving software development industry.