How To: Install Windows 7 on VirtualBox 2.1 – Installation details
On my previous blog posts, I cover the installation of VirtualBox 2.1 and I go over the step-by-steps to create a virtual machine to host Windows 7.
- How to: VirtualBox 2.1 Installation Guide
- How To: Install Windows 7 on VirtualBox 2.1 - Create a virtual machine
I will now go over the details to install Windows 7.
-
You should have the VirtualBox setup and started the virtual machine by clicking on the start button.
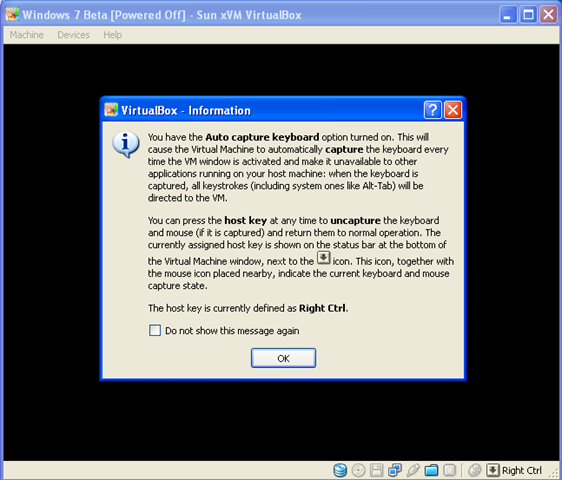
Click OK.
-
The first run wizard starts. Select Image File and browse your image on your drive.
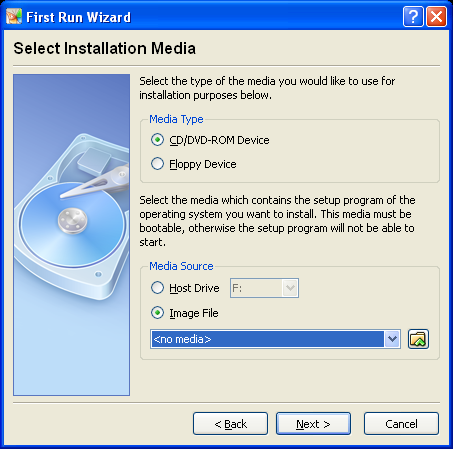
- Once you clicked the browse button, click the add button and select the ISO file for Windows 7. I am using 7000.0.081212-1400_client_en-us_Ultimate-GB1CULFRE_EN_DVD.iso
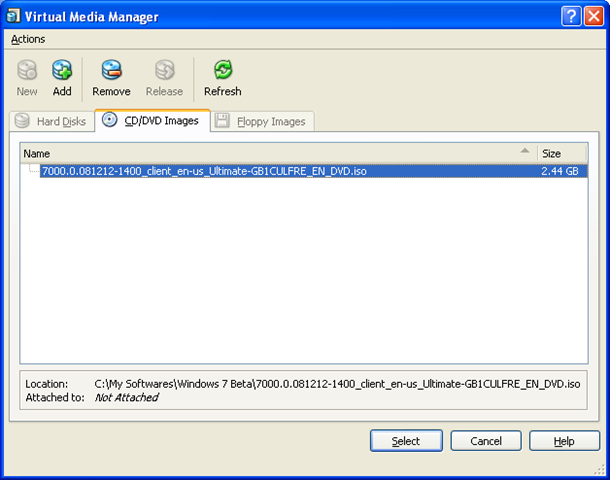
Click Select and go get a coffee.
-
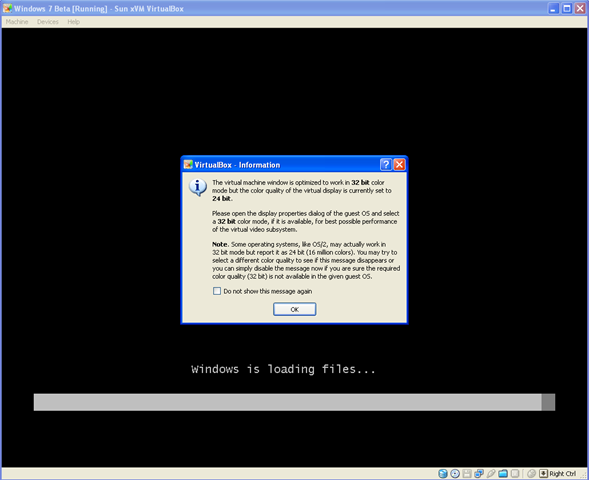
Windows is loading files.
-
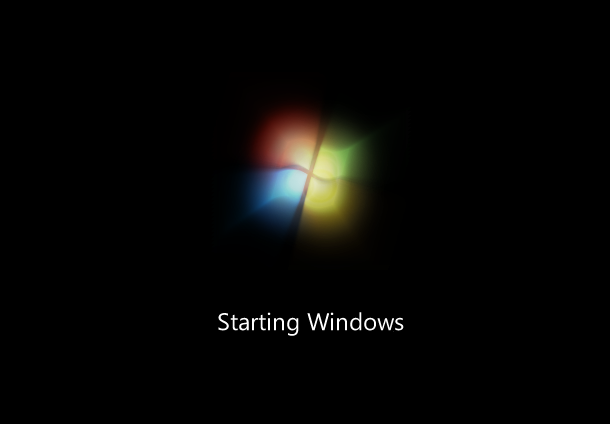
Starting Windows
-
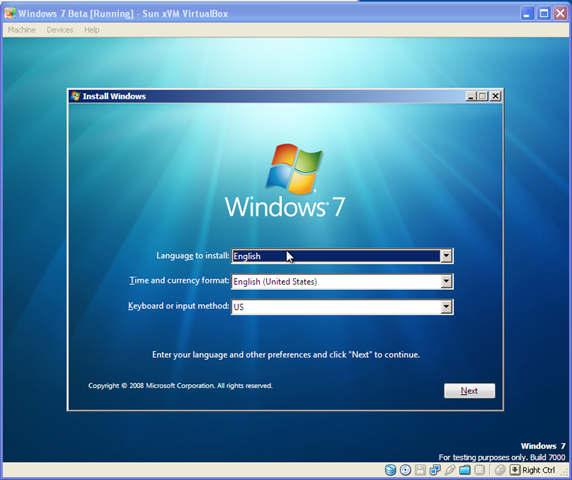
Select Regional Settings. Click on Next.
-
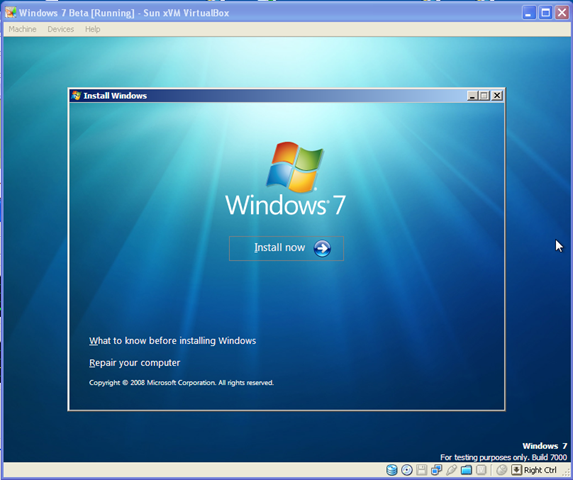
Start the installation. Click on Install Now.
-
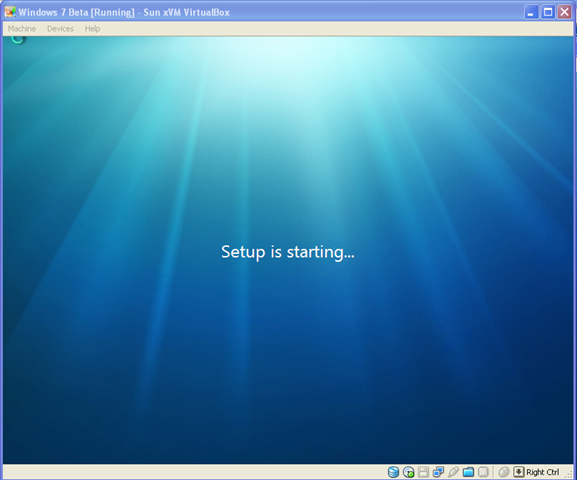
Setup is starting.
-
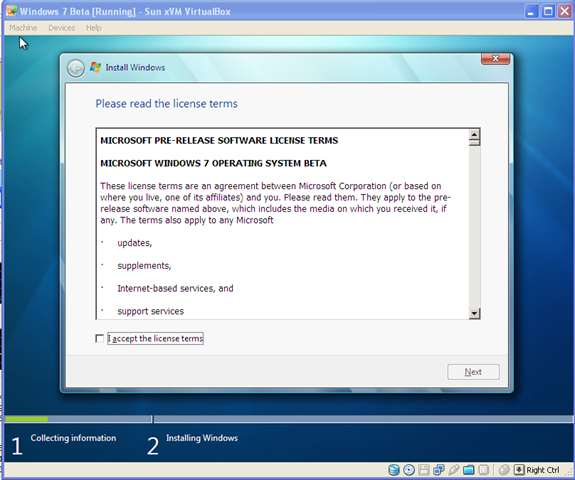
License Terms. Check I accept the license terms and click Next.
-
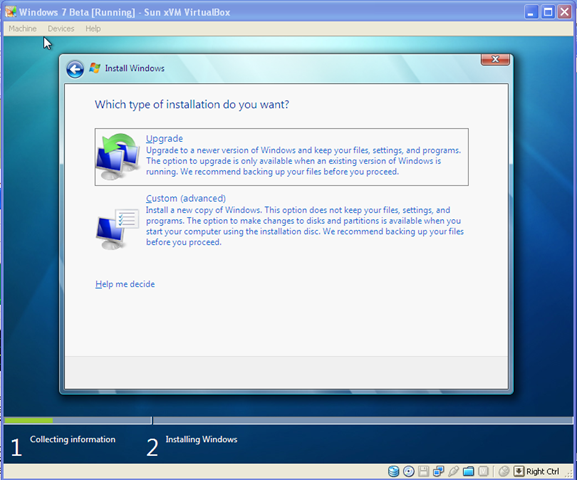
Type of installation. Click Custom (advanced).
-
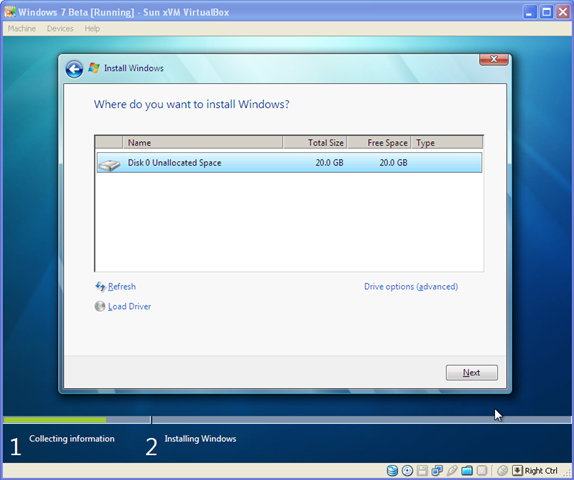
Select Installation drive.
-
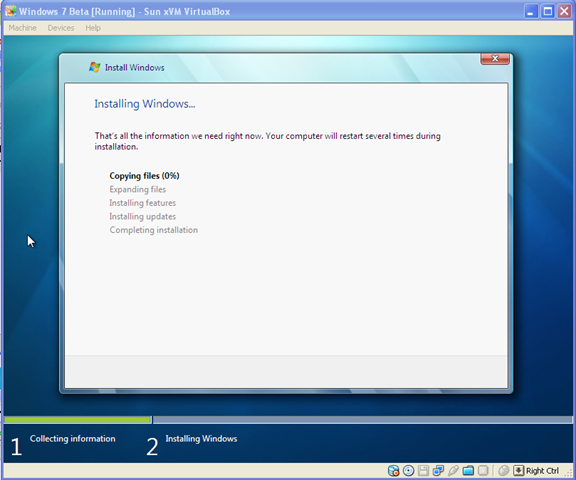
Installing…
-
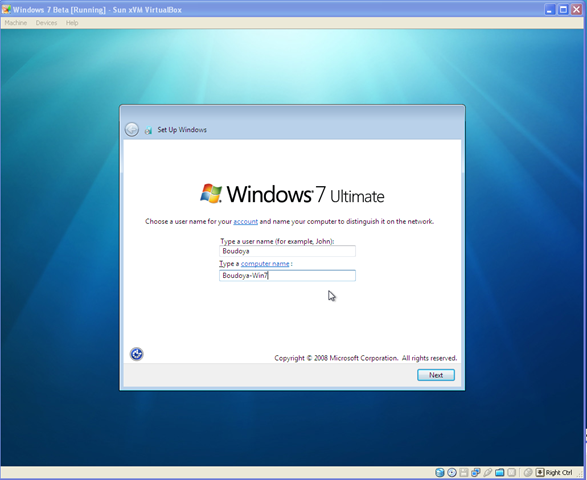
Enter your account and computer name. and enter your password on the next screen.
-
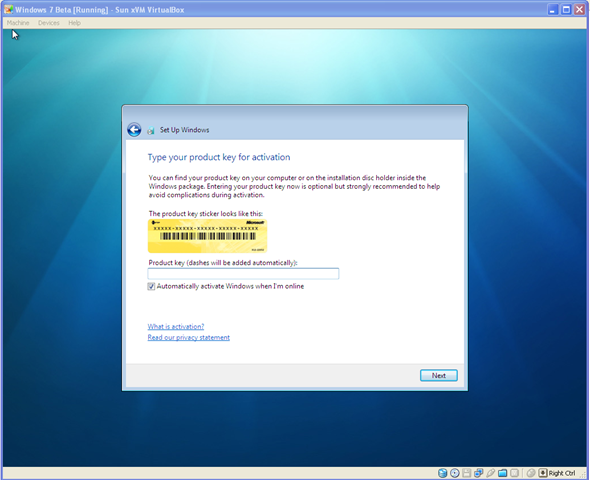
Enter serial number.
-
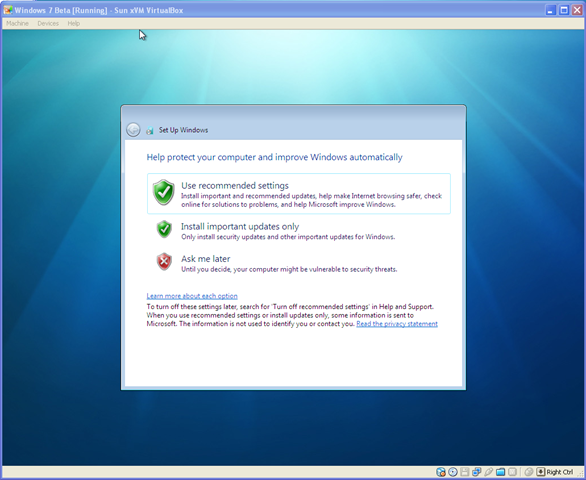
Set up windows updates.
-
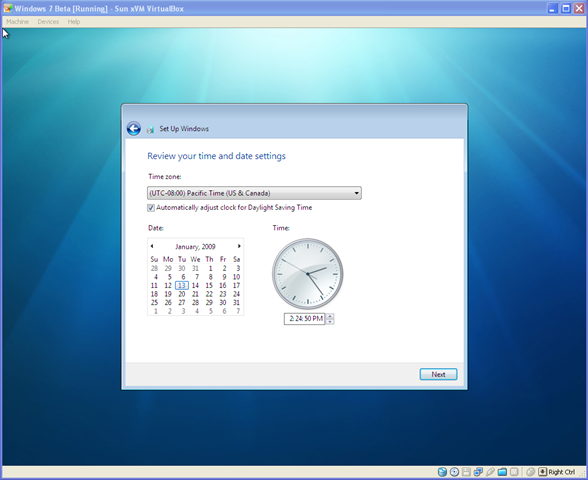
Review your time and date settings.
-
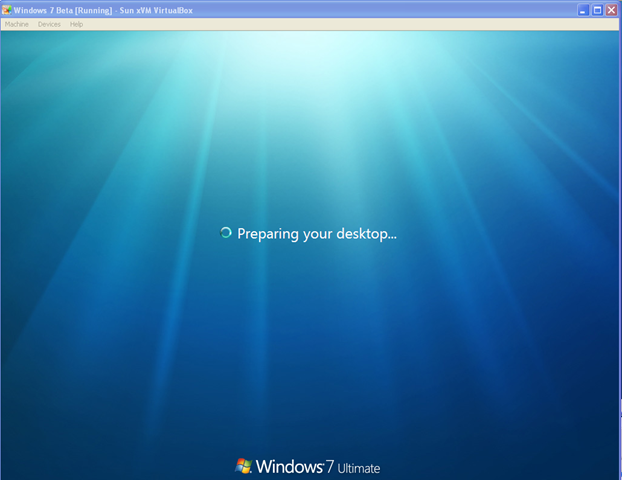
Windows 7 starting.
-
You should now see the Windows 7 desktop.
Now that it is in installed, more configurations are necessary to fix the sound and video and the network adapter. In the next post, I will provide the fixes. I hope that this article helped out to install Windows 7 and have fun with it.

Cedric Boudoya
I am a Software Engineer with over 9 years of experience in Web and Client Server Solutions specializing in .NET solutions using C#, VB.Net and ASP.net. I am a Microsoft Certified Professional bilingual English and French who is energetic, a hard worker and a fast learner. As team player or on my own, I can work without supervision to develop quality software and focus and prioritize my ideas effectively. I continually strive to become a true expert in the fast moving software development industry.