Riding Rails - Building a Web App (Part 04)

Thanks for coming back, this is Part 4 of Riding Rails. Today we’ll be discussing routing, controllers, and views. These will finally bring our application to life. I’m going to try to keep this part short, but we have a lot to cover. Let’s get started!
Missed Part 1, Part 2, or Part 3? No worries, we’ll wait for you while you catch up.
To Generate Or Not
In Part 3, we added all the files we needed by hand. It took a little extra time to set everything up. While that’s typical, it doesn’t make for a great tutorial. Because of this, we’ll use another of Rails’ generators, the controller generator. Before generating anything, let’s look at the help:
rails g controller --help
We’re going to customize the generator with switches. We don’t need a lot of files right now, so we’ll turn off the creation of JavaScript and the Helper. We will also turn off Routes and add these manually. Once you learn about routing, you can have Rails create the routes for you. Finally, we will start with one controller action called index. Here is the full command:
rails g controller Home index --no-javascripts --no-helper --skip-routes
Tack on a
--pretendto the end if you want to preview what is going to happen.
With this command, four files will be generated for us: a controller, a view, a test, and a stylesheet. Isn’t that easier than listing all the paths, the files, and the base contents for each one? I hear a resounding, “Yes!”
Routes
Rails is an MVC (model, view, controller) framework. I’ll skip the typical drawing of the three pillars of MVC and just show it to you in action.
If you’re truly missing the MVC diagram, there are already hundreds on the web.
Start by re-running Guard, and have it run all the tests (hit Enter or type all and Enter at the prompt). We have a failing test. Let’s see what Rails generated by opening up the controller test (test/controllers/home_controller_test.rb). Well, hey! Rails created a test that we would have had to write ourselves. It simply tests that the index action can be retrieved. It’s failing because we haven’t entered a route yet. Luckily, creating a route is super simple. Open config/routes.rb and inside the Rails.application.routes.draw block add one line:
get 'home', to: 'home#index'
In doing that we’re simply saying, direct HTTP GET requests to the HomeController’s index action. Now, in the test that’s failing, change home_index_url to just home_url. With the way this route is written, the routing helpers created by Rails would be home_url and home_path. The home_path (which we’ll just call “the path” for this home route), is just the relative path to the action, like /home. The URL (home_url) is the full path: http://localhost:3000/home. We could change the name of the helpers by passing an explicit as: 'something', and that would give you helpers named something_url and something_path. If you want to be explicit, just tack on , as: 'home' to the route you created in config/routes.rb.
Rails Server
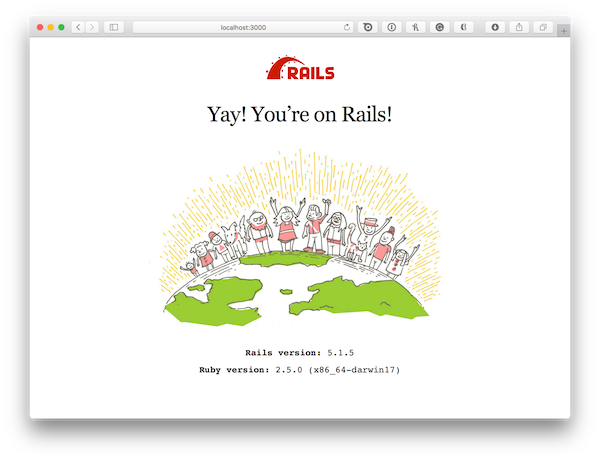
Back in Starting With Rails we started the Rails server. If you don’t remember the command, it’s merely rails s or rails server. Open a new Terminal instance for the server and go ahead and run it. Remember that you have to be in the root directory of your project. Then open your browser and navigate to http://localhost:3000. You’re greeted with Figure 1.
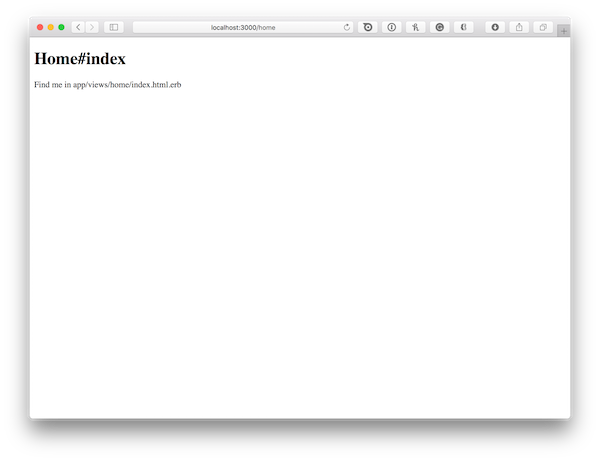
Now try, http://localhost:3000/home, and we see Figure 2.
Routing - The Return
Before we go any further, we want our home#index action to be the root of the site. We can tell Rails that we have a root easily in the routes.rb. In fact, do we want people hitting /home anymore? Probably not, simply the / of the root would look cleaner. We can shrink our routes file just to be the following:
Rails.application.routes.draw do
  root 'home#index'
end
Go to the root URL in the browser again. The welcome message is gone, and we see our home#index view. Perfect. Try hitting http://localhost:3000/home, and since we’re in the development environment, you get what I think every MVC framework should give you, a list of all your routes (Figure 3).
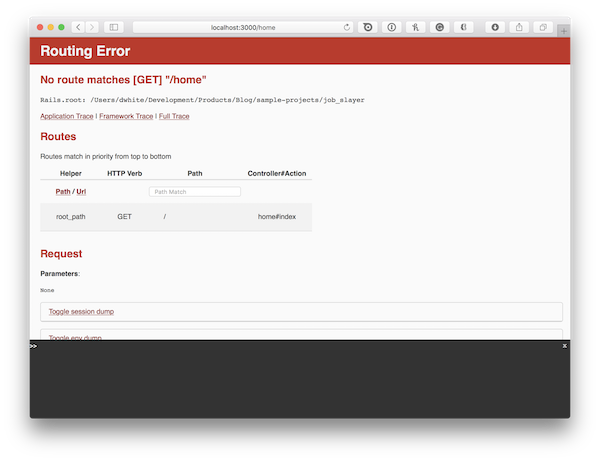
Isn’t that awesome? Of course, we only have one route, but that’s rare.
Before we move on, let’s fix that failing test. Match the code below, and the test should now pass:
class HomeControllerTest < ActionDispatch::IntegrationTest
  test "should get index" do
    get root_url
    assert_response :success
  end
end
Views
Now that we have our homepage/root all set let’s work on adding content. For ease of styling and such, I’m going to use Bootstrap v4, which has finally been released to production. We could include it from the CDN, but there is a gem available. Since we’re doing everything in Rails, let’s install the gem. We need two again, because Bootstrap relies on jQuery as well (and popper.js, but that’s already required by the bootstrap-rubygem). Time to add them to the .gemfile.
# use bootstrap
gem 'bootstrap', '~> 4.0.0'
# bootstrap needs jquery
gem 'jquery-rails'
You know the drill by now, bundle install and then restart your Rails server.
Last step, we have to import Bootstrap in our stylesheet. We’ll use the app/assets/stylesheets/home.scss stylesheet here, and it should look like:
// Custom bootstrap variables must be set or imported *before* bootstrap.
@import "bootstrap";
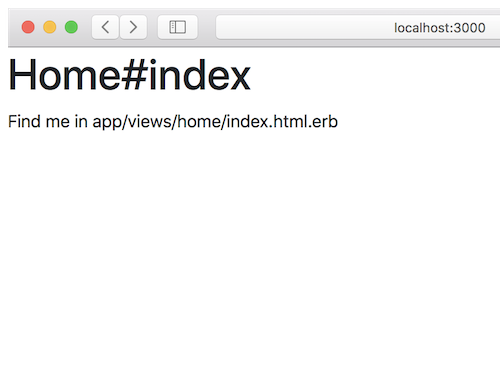
Refresh your browser, and you’ll see a style change right away (Figure 4)
Alright, on the homepage we’re going to show a form for searching as well as a list of jobs loaded from our database. That means we need some data from our controller. Let’s hop over there and get a list of jobs for the homepage; then we’ll come back and use the data.
Controllers
Open up app/controllers/home_controller.rb and take a look. There is a class with one method. This method is an action because we route to it. With just that empty little method, Rails, by convention will search for a view file to render. So, if you have a HomeController, Rails will look for app/views/home/index.html.erb. Notice the name of the view matches that of the action, and that it’s under a home directory. Rails does all this for us, without us having to specify anything. That’s the beauty of convention over configuration.
Let’s do some work on the index action and query the jobs that we have in our database. To use ActiveRecord, you simply use the class name of the domain model and call methods off of it.
class HomeController < ApplicationController
  def index
    @jobs = Job.limit(10)
  end
end
There is an all method which obviously returns all items in the set, but I don’t think we want to show everything we have on the homepage. Here we are using limit(10) so we’ll only get back ten records. Now you’re probably wondering what’s up with @jobs. This is called an instance variable. In Ruby, a variable that starts with an @ is an instance variable. In Rails, these are special because they are exposed to the view.
Back to Views
Can you believe that’s all we need to do on the controller side? Don’t believe it? Well, I’ll prove it. Let’s use the @jobs collection in our view (app/views/home/index.html.erb).
<div class="container">
  <h1>Jobs</h1>

  <ul>
  <% @jobs.each do |job| %>
    <li><%= job.title %></li>
  <% end %>
  </ul>
</div>
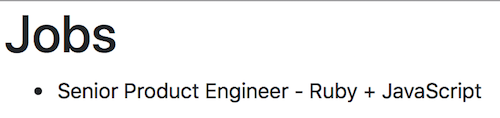
This is very simple markup. With ERB, when you are doing something (like each) you use <% ... %>. Notice there is no equals sign in there for the loop. When you want to display something, you add an equal sign like this, <%= ... %>. This yields the output in Figure 5. Note that I only have one record in my database at the moment.
Before we add a search form, we need a new action to handle the post. We could use the same controller to do this, but let’s add a challenge and use a different controller and action. We’ll call this search and only accept an HTTP POST.
This is no different (apart from the name) than what we just did earlier. If you choose to generate it, here’s the command:
rails g controller Search index --no-helper --skip-routes --no-assets
Add a route called search that points to search#index, remember this will be POST only. Here’s the whole file:
Rails.application.routes.draw do
  root 'home#index'
  post 'search', to: 'search#index'
end
Finally don’t forget to fix the new broken test that we have from generating the new controller. When you have done it should look like the following.
...
class SearchControllerTest < ActionDispatch::IntegrationTest
  test "should post to index" do
    post search_url
    assert_response :success
  end
end
Now let’s look at the form on the homepage.
  <%= form_tag search_path, class: 'form-inline' do %>
    <div class="form-group mb-2">
      <%= label_tag :term, nil, class: 'sr-only' %>
      <%= text_field_tag :term, nil, class: 'form-control', placeholder: 'Enter a Search Term' %>
    </div>
    <button type="submit" class="btn btn-primary mb-2">Search</button>
  <% end %>
That’s straight Bootstrap v4 with Form Helpers provided by Rails.
Wiring Up the Search
Everything is pretty much in place at this point. The only thing we need to do is handle the search. Where do you do work like that? If you said the controller, awesome! Open up app/controllers/search_controller.rb. Inside the index action we’ll query GitHub Jobs, which we built in Part 3. Our term parameter will be passed to the controller via the params hash. Let’s see the code in action.
class SearchController < ApplicationController
  def index
    redirect_to root_url if params[:term].blank?

    @jobs = GithubJobs.import(params[:term])
  end
end
There are just two lines here, but the only thing you haven’t seen yet is the redirect_to method. This is provided to our controller from Rails. It redirects the user back to the homepage if they try just to submit the form without a term. The other line should look pretty familiar from Part 3. We’re just storing the results in a @jobs instance variable. Now we can use it in app/views/search/index.html.erb.
<div class="container">
  <ul>
  <% @jobs.each do |job| %>
    <li><%= job.title %></li>
  <% end %>
  </ul>
</div>
Hmm, that code is the same that we have on the homepage. Remember our job model is the same from the database or our GitHub Jobs parser. That’s not very DRY (don’t repeat yourself), let’s fix it.
Partials
Let’s break out the code we have to render a job. There’s not much there yet, it’s just li with the title of the job. Create a new folder jobs under views, in that folder we’ll create a partial view. By convention partials in Rails start with an underscore. Thus your file should be called _job.html.erb. In that file, for now, just put in the code that renders a job:
<li><%= job.title %></li>
Now, here comes the “magic.” I wrote about this back in 2010, but I didn’t mention this excellent shortcut we can use. Ready?
<ul>
  <%= render @jobs %>
</ul>
That’s all we need. Rails is incredible! Because we have a jobs folder, with a _job partial and we have a @job collection, Rails looks for the _job partial and renders it. No need to specify anything else.
Now go ahead and change the code for the search page; it’s the same code as above.
Wrap Up
We have the basic functionally working. It’s nothing significant to look at, but it works.
For your weekly homework, go ahead and style up the _job.html.erb file. Just having the title shown isn’t very user-friendly. If you need docs on Bootstrap, head over to their site. Feel free to further style the search form, the homepage, etc. If you want to use some of the JavaScript components in Bootstrap, you’ll need to follow the instructions in their README.
Next time, we’ll look at drilling down into a job so we can see a detailed view of the position. We also should be able to wrap up the series.

Damien White Twitter
Hi, my name is Damien White. I'm a software architect with over 20 years of experience. I simply love coding! I have a driving passion for software development, and a thirst for knowledge that cannot be quenched. I enjoy writing Web and Mobile applications, and I'm happy to share what I know in my quest to learn as much as possible.